Whenever I cook a naturally raised chicken or turkey I want to make the best use of it. After the turkey (or chicken) has been carved and served I save the bones to make broth.
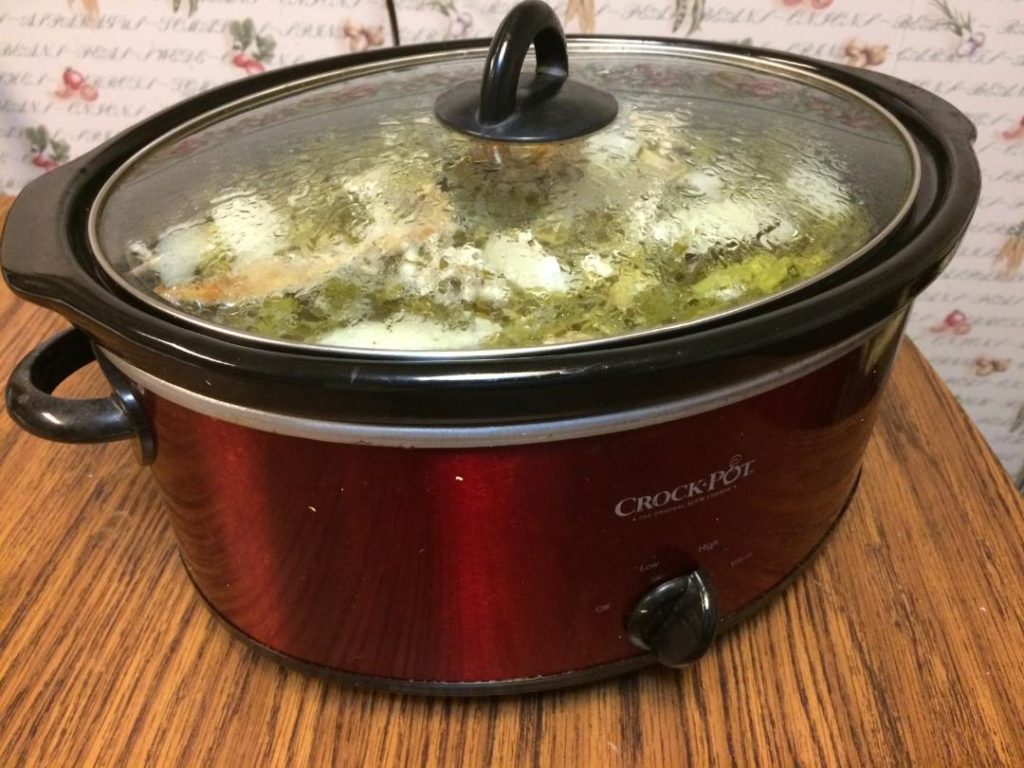
The procedure is simple. I put the bones, a few vegetables (a carrot, an onion, a couple stalks of celery), slices of lemon, garlic cloves and fresh herbs (parsley, rosemary and thyme) into a large crockpot. The lemon provides acid that will leach calcium from the bones.
Then I add water to cover. It is important the crockpot lid does NOT have a vent, because the broth is going to cooks for 20 to 24 hours. All the ingredients contribute to a mineral rich broth.

Throughout the day the crockpot is set at high, and then overnight at low.
Around 24 hours I turn the crockpot off and ladle the broth through a strainer. The bones, vegetables, lemon and herbs are discarded. The broth goes into a large pot and is allowed to cool down. If there is fat in the broth, I place the broth in the refrigerator for several hours and skim the fat off the top before beginning the canning process.
NOTE: If you don’t want to can the broth, you can freeze it. Pour the broth into a canning jar, leaving head space. (The broth expands a little when it freezes.) Place it in the refrigerator to chill, and then place it in the freezer.
Berries and applesauce can be preserved with water bath canning, but broth requires pressure cooker canning. A couple years ago I wrote about my first experience with the pressure cooker.
I read the farm journal cookbook’s information on canning broth. I read the pressure cooker user’s manual from beginning to end twice. I read the directions for using the pressure cooker to can. I washed the canning jars in the dishwasher and the canning lids by hand in soapy water.
Then I placed the lids with their rings in hot water (that had recently boiled). While preparing the lids and jars, I reheated the broth on the stove top. Then I filled the pint size canning jars with hot broth leaving one inch of headspace. I put the lids on and tightened the bands and then did a quarter turn to loosen the band a little.
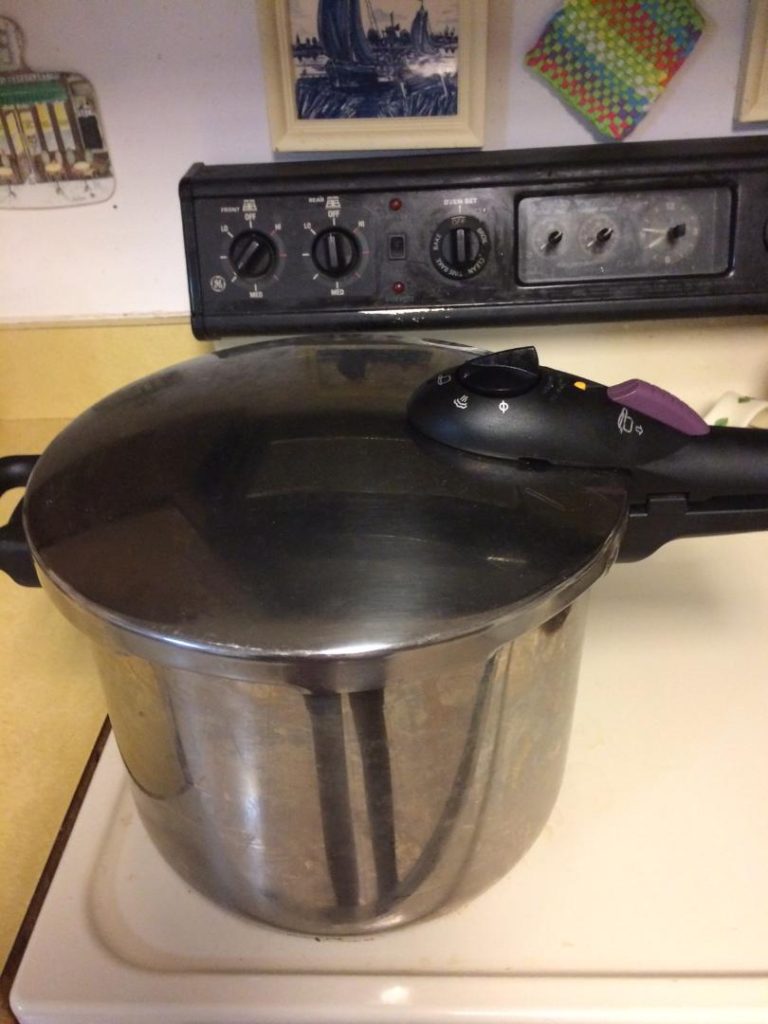
I placed a wire rack at the bottom of the pressure cooker to keep the canning jars from touching the bottom of the pot and put 2 + ½ inches of boiling water in the pressure cooker. Then I put my 3 jars on the rack—the water was just under 3 inches deep with the jars on the rack.
Following the directions that came with the pressure cooker I put the lid on and set it to pressure-cooking, making sure that pressure lock button was set. I turned the burner on high under the pressure cooker. When the button on the lid of the cooker indicated that the pot had achieved pressure I began to time the process. The broth needed to be processed for 75 minutes with 10 pounds of pressure. (The Fagor pressure cooker reaches 15 pounds of pressure.)
I stayed in the kitchen the whole time. Occasionally the pot began to hiss with lots of extra steam escaping and I adjusted the burner a little, feeling a little anxious. I like to see what is happening, but the only thing I could see was steam escaping from the safety valve. Were my jars breaking? Were the lids allowing extra air to escape and no liquid? I had to just wait and see.

When the 75 minutes was complete the pressure cooker needed to cool down on its own. The directions warned me not to open the cool down vent, not to try opening the lid. It took a full half hour for the pot to cool down and the pressure button indicate that the pot was no longer under steam pressure. With a little trepidation I opened the pot and saw that I had successfully processed my jars of broth.
Since then I have become comfortable with the process. I am able to insert the steps of this process into the day as I accomplish other things. The benefit is having a broth that is healthy—I know what is in it. I can to add it to soups, to chili, and use as the liquid for preparing rice.
Sharing this post with Inspire Me Monday and Tuesdays with a Twist


Thank you, Carol. The steps you’ve described here makes this not so hard to do! Many blessings to you!